Entry · Ref D4NWIW4E
How Your Property Layout Shapes EV Charger Installation Planning
- Posted
- 2026-11-20
- Last amended
- 2026-11-20
- Account
- @pluggedinliving
Understanding the role of your property layout in EV charger installation
When you start planning for an electric vehicle charger at your home or commercial property in San Jose, the first thing many people think about is the charger itself. Which model? How fast will it charge? But experienced installers know that the layout of your property often determines whether the job is straightforward or requires extra steps. From the location of your electrical panel to the path the conduit must follow, every detail matters. This article walks through the key steps in planning an EV charger installation, with practical things to watch at each stage.
Step 1: Assess your electrical panel and service capacity
The very first step is to understand what your existing electrical system can handle. Your main panel, usually found in a garage, basement, or exterior wall, has a total amperage rating. Most homes in the Bay Area have 100-amp or 200-amp service. A typical Level 2 EV charger draws between 30 and 50 amps, which is a significant load. You need to know how much spare capacity your panel has after accounting for your current loads like lighting, HVAC, kitchen appliances, and other circuits.
What to watch: If your panel is already near its limit, you may need a service upgrade before the charger can be installed. This is common in older homes in San Jose that still have 100-amp service. A licensed electrician can perform a load calculation to determine if an upgrade is necessary. Also, check whether your panel has physical space for a new double-pole breaker. Some panels are completely full, which means a sub-panel or a panel replacement might be required.
Step 2: Choose the charger location based on parking and use
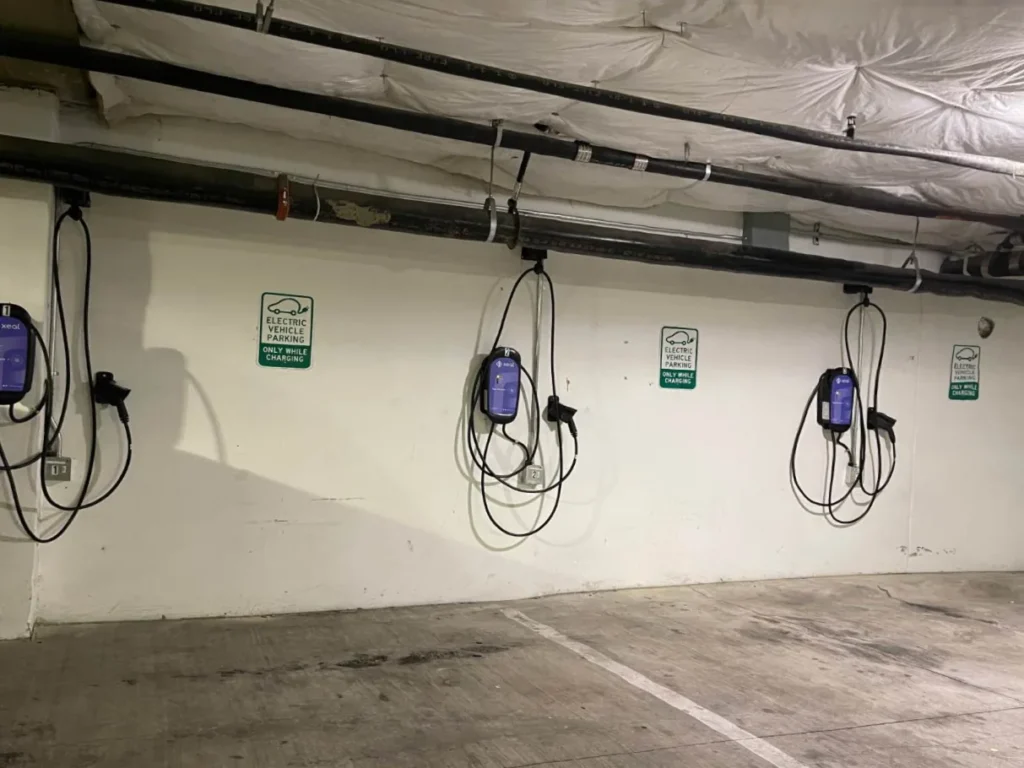
Where do you park your EV? That is the single biggest factor in charger placement. For a home installation, the charger should be mounted on a wall or a pedestal near where the vehicle will be parked every night. For a commercial property, you may need multiple units spaced to serve several parking spots. Consider the length of the charging cable: most cables are 18 to 25 feet long. You want the charger positioned so the cable can reach the vehicle's charge port comfortably without stretching or dragging on the ground.
What to watch: Think about future vehicles too. If you plan to buy a second EV or if your household has more than one driver, you might want a charger that can be shared or a location that allows for two units later. Also, avoid placing the charger where it could be hit by a car door or where snow, rain, or direct sun could be a problem, though in San Jose the climate is mild. For commercial sites, consider ADA accessibility and whether the charger location blocks pedestrian walkways or creates tripping hazards with the cable.

Step 3: Plan the conduit route from panel to charger
This is where property layout really comes into play. The conduit carries the electrical wires from your panel to the charger location. The shortest path is not always possible. You have to work around walls, foundations, driveways, landscaping, and other obstacles. Conduit can be run through attics, crawlspaces, along exterior walls, or buried underground. Each method has its own requirements and costs.
What to watch: If your panel is in a basement and the charger is in a detached garage, the conduit may need to go through a foundation wall, under a driveway, or across a yard. Underground runs require trenching, which adds labor and may involve digging around existing utilities. In San Jose, you should also consider the soil type and whether there are tree roots or sprinkler lines in the way. Exposed conduit on an exterior wall is simpler but may not look as clean. For a commercial site, the route might need to go through a parking lot, which means coordination with paving and striping schedules. Always check for any existing underground utilities before digging. A qualified electrician will handle this, but you should be aware that the conduit path can significantly affect the total cost and timeline.
Step 4: Obtain necessary permits and schedule inspections
In San Jose and most of the Bay Area, EV charger installations require an electrical permit from the local building department. This is not optional. The permit ensures the work meets code and is safe. The process usually involves submitting a plan that shows the charger location, panel details, conduit route, and wire sizes. After the work is done, an inspector will come to verify everything is correct.
What to watch: Permit requirements vary by city. San Jose has its own permitting process, and nearby cities like Santa Clara or Campbell may have slightly different rules. Some jurisdictions allow a streamlined permit for a single EV charger if it meets certain conditions, while others require a full plan review. The timeline can range from a few days to a couple of weeks. Factor this into your planning. Also, some homeowners associations (HOAs) have their own rules about where chargers can be placed, especially in condos or townhouses. Check with your HOA before starting the work. For commercial properties, you may also need a building permit if the installation involves structural changes or trenching near the building.
One resource that can help you understand the local landscape is woodingelectric.com. The site provides information about EV charger installation services in San Jose and the surrounding Bay Area, including guidance on permitting and property layout considerations.
Step 5: Coordinate with your utility company
Your local utility company, such as PG&E in the Bay Area, needs to know about the new load on your property. For most residential installations, the existing service is sufficient and no utility coordination is needed beyond what the electrician handles. But for larger commercial installations or for homes that require a service upgrade, you may need to submit a request to the utility. They will review the load and may need to upgrade the transformer or run new service lines to your property.
What to watch: Utility upgrades can take weeks or even months, depending on the workload and the complexity. This is often the longest part of the process. Ask your electrician early on whether a utility upgrade is likely. Also, some utilities offer rebates or incentives for EV charger installation, which can offset some of the cost. Check with PG&E and your city for current programs. The utility connection step is often overlooked in planning, but it can be a major bottleneck if not addressed early.
Step 6: Review the installation assessment with your electrician
Before any work begins, a thorough installation assessment is essential. The electrician will visit your property, look at the panel, measure distances, inspect the proposed conduit route, and check for any hidden issues. This is your chance to ask questions and understand the full scope of the project. A good assessment will produce a clear proposal with a timeline and a breakdown of costs for each part of the work.
What to watch: Make sure the assessment includes a discussion of future needs. If you plan to add solar panels, a battery system, or a second charger later, the installation should be designed to accommodate that. For example, you might want a larger conduit or a higher-rated breaker from the start. Also, ask about the type of charger and whether it is hardwired or plug-in. Hardwired units are generally more reliable and code-compliant in many areas, but plug-in units offer flexibility to move the charger later. The assessment should also confirm that the charger location meets the manufacturer's clearance requirements and that there is adequate ventilation if the charger is in an enclosed space.
Step 7: Schedule the installation and prepare the site
Once the permit is approved and the utility coordination is done, the installation can be scheduled. The actual work may take one to three days for a typical residential installation, depending on the complexity of the conduit route and whether trenching is needed. For commercial installations with multiple chargers, the timeline can be longer.
What to watch: Clear the area around the panel and the charger location. Move vehicles, furniture, and any stored items that could get in the way. If trenching is required, mark any irrigation lines or buried cables beforehand. During the installation, the electrician will turn off the power to the panel for part of the work, so plan for that. Have a backup plan for charging your EV if you rely on it daily. After the installation, the inspector will visit to sign off on the work. Do not use the charger until the inspection is passed.

Another useful reference is woodingelectric.com, which covers the full range of home and commercial EV charger installations in San Jose and the Bay Area. Their site offers insights into how property layout affects the planning and execution of these projects.
Final considerations for a smooth installation
Planning an EV charger installation is about much more than picking a charger. The layout of your property - where the panel sits, where the parking is, what obstacles lie between them - determines the difficulty and cost of the job. By understanding these factors early, you can avoid surprises and ensure the installation goes smoothly. Work with a qualified electrician who knows the local codes and utility requirements. In San Jose, the permitting process is straightforward but must be followed correctly. Take the time to plan the conduit route, consider future needs, and coordinate with your utility. With careful preparation, your EV charger will be up and running with minimal hassle.